Thought I'd do something a bit different today, I recently did some experimenting with dip dye cushions for my bedroom. And they turned out pretty well, so I wrote a DIY if you want to try it yourself!
You will need:
- White Cotton (preferably cotton canvas or loomstate so it's thicker.)
- Zip
- Cushion Pad
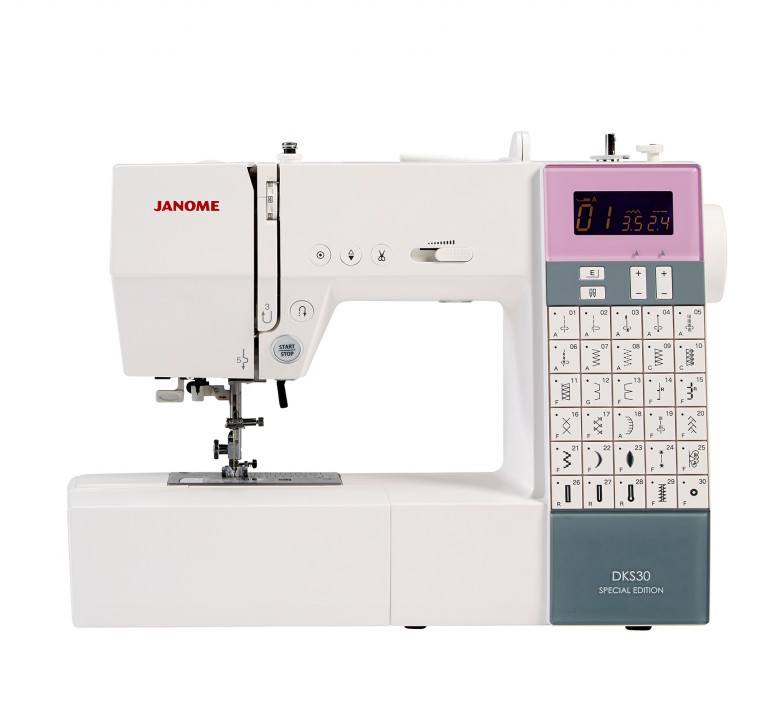
- Machine and thread
- Dylon Fabric Dye (I used one little packet).
- Bucket
- Washing line
- String
- Scissors
- Pegs
- Table Salt
2. Cut your zip to be slightly smaller than one end of your squares. If you have an over-locker, use this to finish off the two bottom edges of your squares. Then use your machine to insert your zip. If you haven't got an over-locker, you can use the zig zag stitch on your machine instead.
How to insert a zip:
- Lay the zip right sides together on top of your first square, make sure it's exactly in the centre, you should have a gap either side of the zip.
- Use your zipper foot to sew all the way along the zip edge.
- repeat with other side.
- Then use your normal foot on the machine to go over the gaps and slightly over the zip each side.
- Press out.
4. Follow the instructions on the dye to prepare it. You will need a large bucket. My dye needed 250g salt in warm water then add the dye.
5. Use your washing line to hang to pieces of string from it, with pegs on the ends. Make sure they are long enough to be just above your bucket.
6. Hang your cushion cover from the pegs and dip into the dye. I left about 1-2" at the bottom white. Though the shape of my bucket meant the first dip dye wasn't in a straight line. Adjust it if needed.
7. I left each dip dye section for at least 30mins. But you can adjust your time to make it lighter/darker. I tied knots in the string to make the cushion hang higher each time.
8. Once you've finished each stage. Leave hanging from the line and use cold water to wash it through.
9. Put in the washing machine as per dye instructions. Once dry you can iron your cushion covers, insert the pads and admire!


No comments